Setup
Requirements
Here's a list of the tested versions of GameMaker that works properly with GM-I18n.
| Platform | IDE | Runtime | Notes |
|---|---|---|---|
| Windows VM | v2024.13.1.193 | v2024.13.1.242 | All API works properly |
| Windows YYC | v2024.13.1.193 | v2024.13.1.242 | All API works properly |
| HTML5 | v2024.13.1.193 | v2024.13.1.242 | Core API works properly, but there's an issue with the drawing functions |
It should work on other versions of GameMaker 2.3+ too. Please let me know on the tested versions page if you tested it on other versions that not listed above, whether it works properly or not. It will help me and other users who want to know which versions of GameMaker that works properly with GM-I18n.
Installation
Importing Package
- Download the latest release from the releases page.
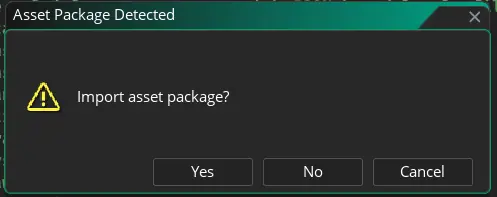
- Import the
GM-I18n v<version>.yympsfile to your project by dragging it to the IDE.
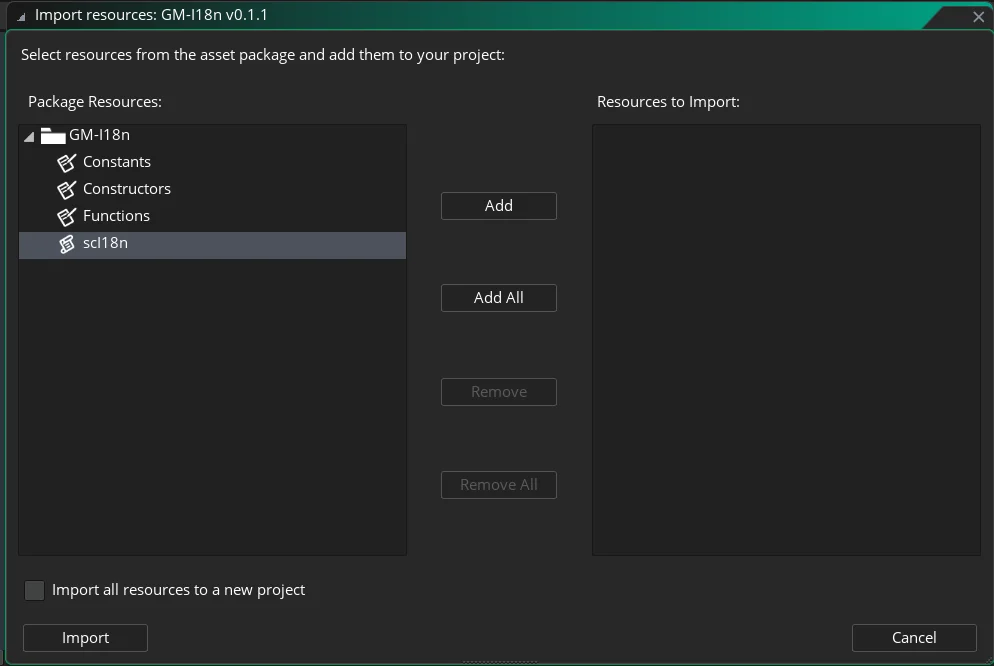
- Select the
scI18nscript from the list to import and clickAdd, or just clickAdd All. And finally, click theImportbutton.
Types Definition Files (Optional)
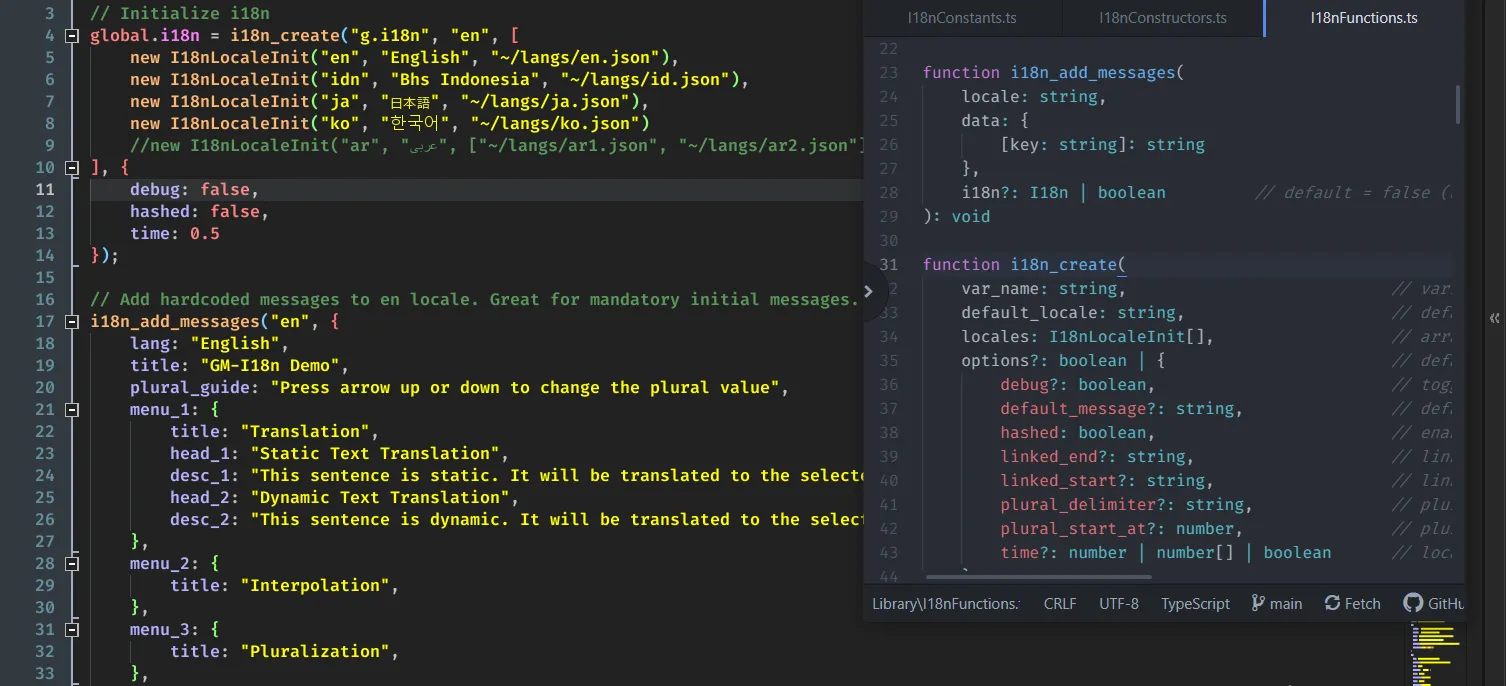
There's some types definition files that you can use to help you understand better how to use the GM-I18n API. These files are Constants, Constructors, and Functions.
Think of it as a cheatsheet for GM-I18n documentation. It's not necessary to import it if you use the web documentation. But if you want to use it, you can follow the steps below:
- Same as step 3 in the Importing Package section, but this time import the
Constants,Constructors, andFunctionsnotes. So, you need to click theAdd Allbutton, instead ofAdd. And then click theImportbutton. - Open your favorite code editor (such as Visual Studio Code, Lite XL, Atom, or other code editor you prefer).
- Create a
.d.tsfile (such asi18n.d.ts), or you can create 3 different files for each of them (i18n-constants.d.ts,i18n-constructors.d.ts, andi18n-functions.d.ts). You can create it anywhere you want, as long as you can open it with your code editor (besides the GameMaker IDE). - Copy the content of the
Constants,Constructors, andFunctionsnotes to the.d.tsfile you created. If you created 3 different files, you can copy the content of each note to each file. - Save the file and you're done!
The types definition files are not a real typescript definition. So, don't expect it to be fully functional.
Configuration
You can create your own fonts asset normally if the language you're using is a Latin-based language. But, if you're adding language with non-Latin characters, you need to follow the steps below:
Using Font Assets
- Create a new
fontasset in the IDE as you usually do. - Click
Addto add new range to the font asset for each character range you need. Set thefromandtoto the first and last character of the range. For example, if you're adding Japanese, you may add Higarana (12352to12447), Katakana (12448to12543), and Kanji (13312to19903).
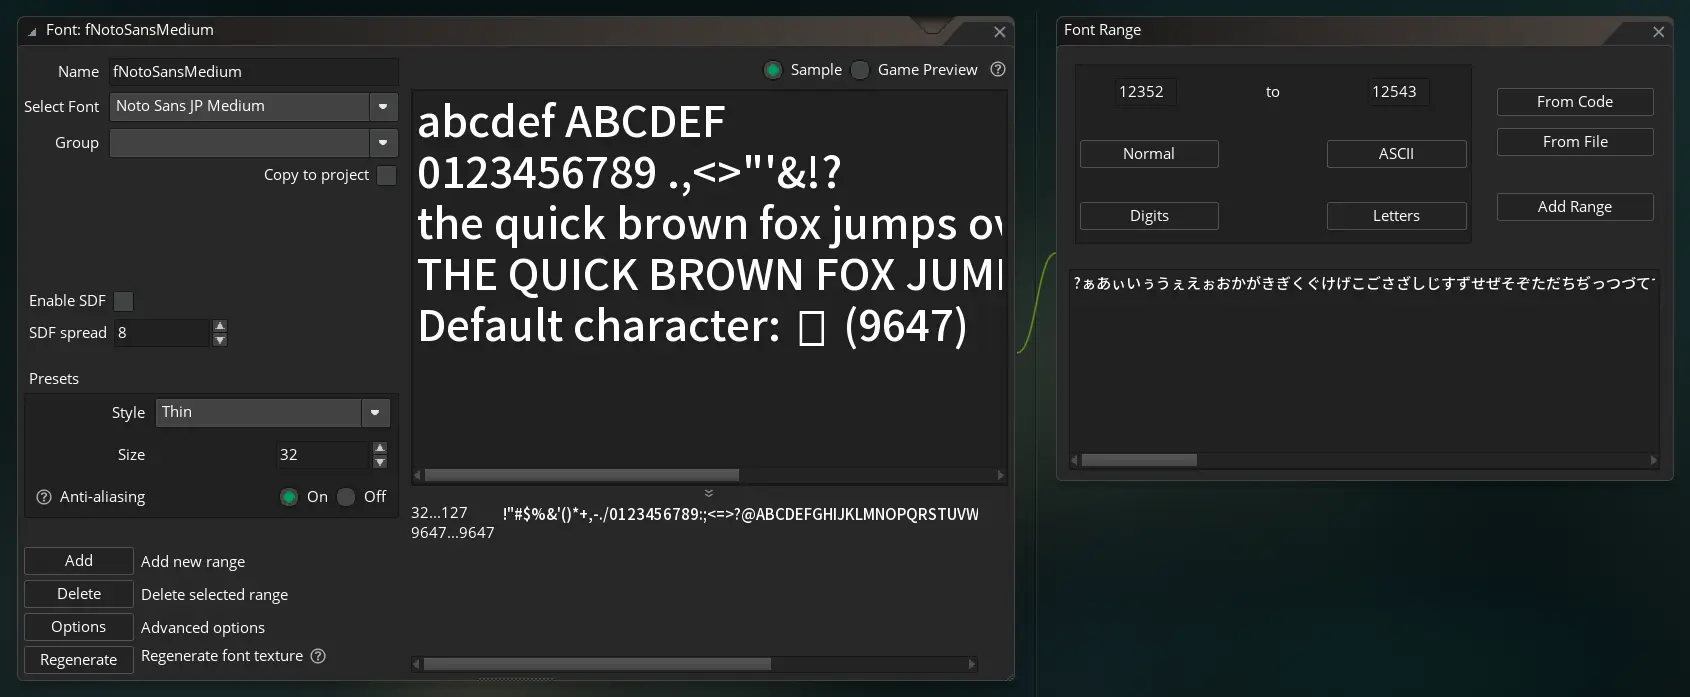
- Click
Add Rangeafter you done adding all the ranges you need. - Repeat the steps above for each font you need.
Using Included Files
- Prepare your font files. You can use any font you want, but make sure it's in
.ttfor.otfformat. You can convert any font to.ttfor.otfformat using online converters. - Click
Menubutton in the Asset Browser (that one with 3 stripes icon), and then clickIncluded Files. TheIncluded Fileswindow will open, and then clickOpen in Explorer.
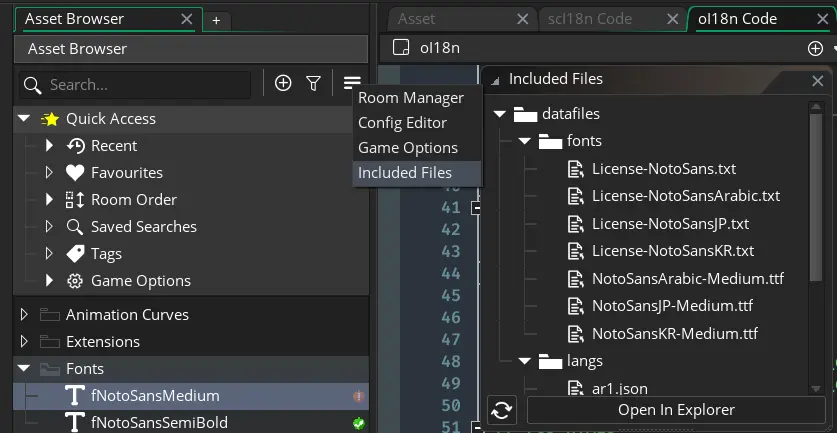
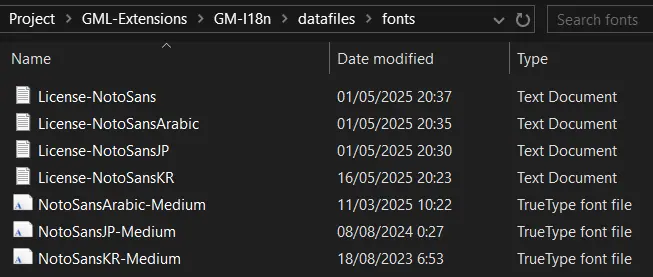
- A window will open and show you the
datafilesfolder of your project. Copy your font files there (with its license file). You can also make a folder for your font files, for examplefonts.
- In the
Included Fileswindow, clickRefreshbutton. Your font files should now appear in the list. - Create the font asset from code. Use the
font_add()function to create the font asset. For example:
// font_add(name, size, bold, italic, first, last);
global.font_ja = font_add(working_directory + "fonts/NotoSansJP-Medium.ttf", 32, false, false, 32, 127);
working_directory before the file path.- Repeat step 5 for each font you need.
font_delete() if you don't need it anymore). Pass the 32 to the first parameter, and 128 to the last parameter if you're not sure.